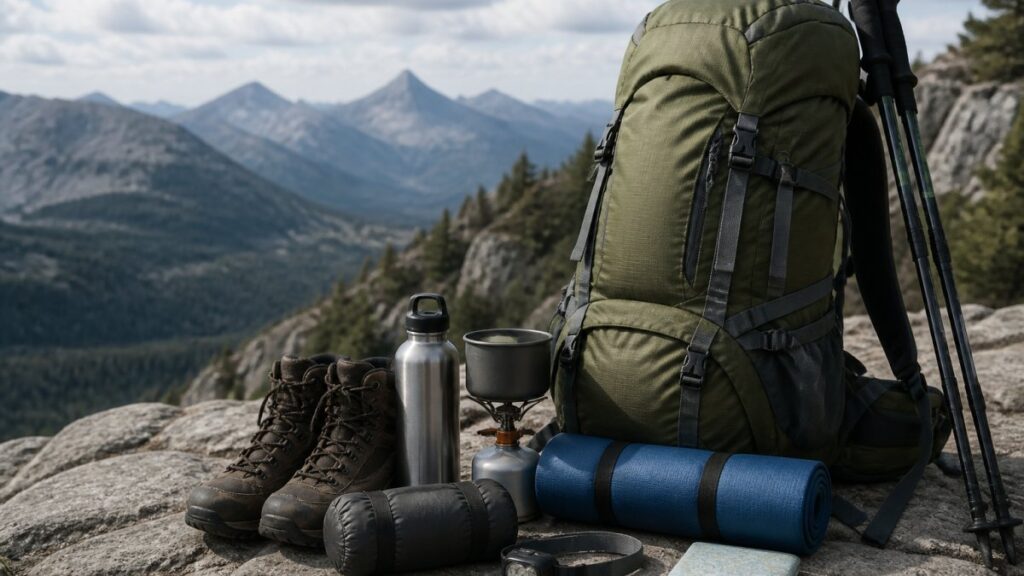
Table of Contents
- How to Spot High Quality Hiking Gear for Sale
- Your Hiking Gear Checklist by Trip Type
- Lightweight Hiking Gear: Where Weight Savings Are Worth It
- Hiking Boots: Choosing the Right Pair for Your Terrain
- Sleeping Bags for Backpacking: Warmth, Weight and Pack Size
- Seasonal Conditions and Safety Readiness
- Budget Tiers and Cost-Per-Use: Getting Real Value
- Conclusion
- Frequently Asked Questions
Last Updated: October 14, 2026
How to Spot High Quality Hiking Gear for Sale
Buying high quality hiking gear for sale comes down to three checks: inspect the construction, match the item to your terrain, and make sure it fits.
High quality hiking gear is built from durable materials and reinforced construction that performs reliably across repeated trips.
Most buyers shop by brand name or the biggest discount sticker, then wonder why a jacket delaminates after one wet season. Quality is visible if you know where to look.
Durability Checks You Can Do Before You Buy
Run your hands along every seam. Reinforced, double-stitched joins at stress points, shoulders, hip belts and pack bases, are the first sign of gear built to last.
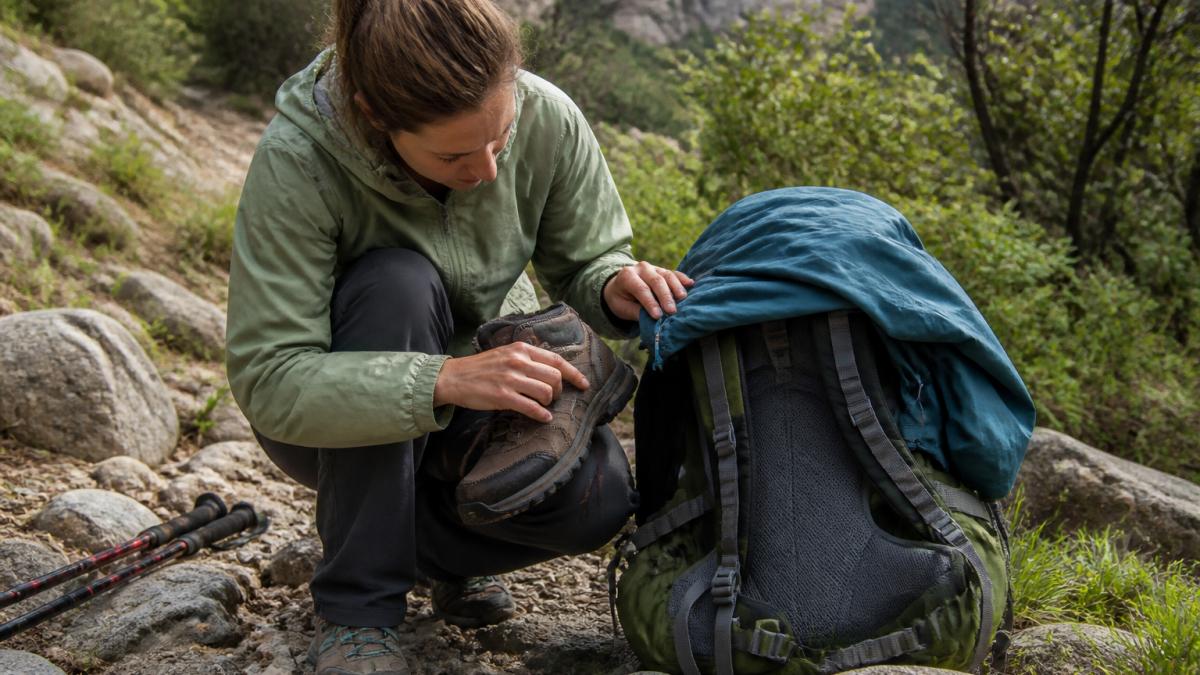
Then check the hardware. Zips should glide without catching, buckles should snap firmly, and straps should feel dense rather than flimsy. On footwear, flex the sole and press the heel counter; if it collapses easily, it won’t support you on uneven ground.
- Fabric: look for a tight weave and a stated water resistance or abrasion rating
- Stitching: even, dense lines with no loose threads or skipped sections
- Fastenings: metal or quality composite buckles, not brittle plastic
- Weight: surprisingly light gear often trades away durability, so read the specs
The most common mistake is buying on price alone. A cheap pack that fails mid-trip leaves you carrying gear in your arms for kilometres. Pay once for gear that lasts rather than twice for gear that doesn’t.
Fit, Sizing and Comfort: What Actually Matters on the Trail
Fit matters more than any spec sheet. A pack that sits wrong will rub your shoulders raw by lunchtime, however good the materials.
For backpacks, measure your torso length rather than your height, and adjust the hip belt so it carries most of the load.
If you’re coming from a casual daypack, a proper fitting session will feel different at first. That’s normal, and worth the ten minutes.
Your Hiking Gear Checklist by Trip Type
Most gear pages sort by category, but you pack for a trip, and the trip dictates the kit. Below is a checklist organised by use case, with the items that earn their place and the ones that usually do not.
Day walks (under 8 kg total)
A day walk is a comfort and weather problem, not a survival problem. The core kit is a 20-30 L daypack, a low-cut or mid-cut hiking shoe, a packable rain shell, 1.5-2 L of water, sun protection, and a small first aid kit.
Most people overpack a full change of clothes, a heavy camera bag and a bulky fleece, but underpack a headlamp, a blister kit and spare socks.
Overnight trips (10-14 kg total)
Overnight gear is a packability problem. The core kit is a 40-50 L pack, a sleeping bag rated for the expected overnight low, a sleeping mat with an R-value matched to ground temperature, a stove and pot, a tent or tarp, and a headlamp with spare batteries.
R-value is the number most overnight buyers ignore. R 1.0 is a summer mat; R 3.0-4.0 suits three-season use; R 5.0 and above is for cold ground or snow.
Multi-day treks (14-18 kg total)
Multi-day gear is a durability and weight-balance problem. The core kit is a 60 L+ pack with a proper hip belt and load lifters, a sleeping system rated for the coldest night you might meet, a camp kitchen, water treatment, and a repair kit.
Water treatment is the item most often left off multi-day lists. You cannot carry all your water, so you need a filter, purification tablets or a UV device. A filter is the most common choice because it handles sediment as well as pathogens.
Family and vehicle-based camping
Vehicle-based camping is a comfort and reliability problem, not a weight problem. The core kit is a larger tent with a higher ceiling, a camp kitchen with a proper stove, chairs, a table, and a large cooler or fridge. Weight targets do not apply, but pack volume does, a tent too big for the vehicle is a tent you leave at home.
The non-negotiable essentials
Regardless of trip type, a hiking gear checklist should always include navigation, sun protection, insulation, illumination, first aid, fire, repair tools and nutrition. Build the rest around your trip type and expected conditions. If an item does not solve a problem your trip will actually create, leave it at home.
| Trip Type | Core Gear | Weight Target | Key Priority |
|---|---|---|---|
| Day walk | Daypack, hiking shoes, rain shell, water | Under 8 kg | Comfort and weather protection |
| Overnight | 40-50 L pack, sleeping bag, stove, tent | 10-14 kg | Packability |
| Multi-day trek | 60 L+ pack, sleeping system, camp kitchen | 14-18 kg | Durability and weight balance |
| Family camping | Larger tent, camp kitchen equipment, chairs | Vehicle-based | Comfort and reliability |
Weigh your packed pack before you leave. Most people are surprised by how quickly a day walk kit climbs past 8 kg once water and layers are added.
Lightweight Hiking Gear: Where Weight Savings Are Worth It
Lightweight hiking gear pays off most on the big three: your pack, your sleeping system and your footwear. Shaving grams from a toothbrush is pointless if your pack still weighs three kilos empty. The useful question is not ‘how light can I go’ but ‘where does a gram saved change my day, and what does it cost in durability’.
Where weight savings change your day
A lighter pack and sleeping bag reduce the load on every step, so the saving compounds over distance.
Lighter footwear reduces fatigue over long distances because you swing less mass with every stride, the one place a lighter item often feels faster than the scale suggests.
For everything else, cookware, tools, toiletries, a few extra grams rarely matters. Spend your weight budget on the big three and stop optimising the small stuff.
The durability trade-off, in plain terms
Lightweight gear usually gets lighter through thinner fabrics, fewer layers or lighter hardware. A 100-denier pack is lighter than a 210-denier one but abrades faster against rock. A 10-denier sleeping bag shell is lighter than 20-denier but punctures more easily.
Denier is the number to look for on pack and sleeping bag specs. Higher denier means a thicker, heavier, more abrasion-resistant yarn. There is no universal ‘right’ number, it depends on your terrain.
How to go lighter without going fragile
Experienced hikers lighten one category at a time and test it on a familiar trip before trusting it on a remote one. Replace your pack first, because it carries everything else, then your sleeping system, then your footwear once your feet have adapted.
A useful rule of thumb: if a lighter item saves less than 100 g and costs more than a mid-range alternative, it is rarely worth the durability risk.
Going ultralight too fast leads to gear that is not durable enough for rough terrain. Balance matters more than the lowest possible number on the spec sheet.
A note on pack weight versus body weight
Total pack weight is what your body actually carries, so the useful target is a percentage of body weight rather than an absolute number. Many hikers aim for roughly 10-15% for a day walk and 20-25% for a multi-day trek, adjusting for fitness and terrain. A 70 kg hiker and a 95 kg hiker should not pack the same load, even on the same trail.
Lighten the big three, keep the durability you actually need for your terrain, and ignore the grams that do not change your day.
Hiking Boots: Choosing the Right Pair for Your Terrain
Hiking boots should match your terrain first and your style second. Rocky, uneven ground calls for a stiffer sole and higher ankle support; well-formed trails suit a lighter, more flexible shoe.
Think about the surfaces you’ll actually walk on. If your trips mix gravel tracks, mud and rock scrambles, choose a mid-height boot with a grippy outsole and waterproof membrane.
Try boots on late in the day when your feet are at their largest, and wear the socks you’ll hike in.
Break new boots in on short walks before a big trip. A couple of shorter outings will reveal any rubbing while you can still swap sizes or adjust lacing.
Sleeping Bags for Backpacking: Warmth, Weight and Pack Size
Sleeping bags for backpacking trade off warmth, weight and packed size. You can usually get two of the three, so decide which matters most for your trips.
Temperature ratings are the starting point. Choose a bag rated for the coldest conditions you realistically expect, then add a liner for colder nights.
Pay attention to shape and fill. A mummy shape saves weight and warmth, while a roomier cut suits side sleepers.
Seasonal Conditions and Safety Readiness
Conditions change faster than most people plan for, so build your kit around the worst weather you might meet, not the morning forecast.
Layering is the practical answer. A moisture-wicking base layer, insulating mid layer and waterproof outer shell let you adapt as the day warms or the weather turns. Carry a spare warm layer even on clear days.
Safety readiness means more than gear. Tell someone your route and expected return, carry a map and compass alongside any GPS, and pack a headlamp, first aid kit and emergency shelter. Check the Bushwalking safety guidance from the Bureau of Meteorology before you head out, and treat weather warnings as a reason to change plans.
The gear that keeps you safe is rarely the gear you notice. A spare layer, a working headlamp and a basic repair kit weigh little and matter enormously when something goes wrong.
Budget Tiers and Cost-Per-Use: Getting Real Value
Cost-per-use is the honest way to judge value. A jacket that costs more but lasts eight seasons beats a cheap one replaced every year.
Think in tiers. Entry-level gear suits occasional day walks and fair weather. Mid-range gear handles regular trips across mixed conditions, where most hikers land.
CampNation sits in the mid-to-premium range, and that’s deliberate.
Check our website for current pricing across each tier, and weigh the cost against how often you’ll actually use the item.
Conclusion
Choosing well takes a little more effort than clicking the biggest discount, but it pays off on every trip. Match gear to your terrain and trip type, check the construction before you buy, and think in cost-per-use rather than sticker price.
That’s how we’ve built CampNation.
Shop now with CampNation and gear up for your next adventure with equipment built to last.
Frequently Asked Questions
What gear do you need for hiking?
A basic hiking gear checklist covers footwear, weather protection, water, food and navigation. For day walks that means hiking boots or shoes, a rain jacket, a small backpack, a water bottle or bladder, sunscreen, a hat and a first aid kit. Overnight hikes add sleeping bags for backpacking, a sleeping mat, a tent, a stove and a headlamp. Match the list to the trip length and seasonal conditions rather than buying everything at once.
How do I choose good-quality hiking gear?
Look at the construction details, not the marketing copy. Check stitching at stress points, zipper quality, fabric weight and whether seams are taped or reinforced. For lightweight hiking gear, compare the weight against the claimed performance rather than assuming lighter is always better. A piece that lasts several seasons costs less per trip than a cheap item replaced every year, so weigh durability against the upfront price.
What should I look for when buying hiking boots?
Focus on fit before features. Your toes should not touch the front when walking downhill, and your heel should stay locked without pinching. Choose tread depth based on terrain: deeper lugs for mud and loose rock, shallower for formed trails. Check whether the upper is leather or synthetic, since leather lasts longer but takes longer to dry. Try boots on late in the day when your feet are slightly swollen, and wear the socks you plan to hike in.
How much should I spend on hiking gear?
Spend most on the items between you and the ground or the weather: footwear, sleeping bag and rain protection. These are the pieces where quality differences show up fastest. For everything else, mid-range gear performs well for weekend trips. Working out cost per use helps here. A sleeping bag used on twenty trips a year justifies a higher upfront price than one used twice. Check CampNation’s website for current pricing on each item.