Table of Contents
- Why Camping Gear Longevity Starts With a Post-Trip Routine
- Step 1: Clean Your Gear After Every Trip
- Step 2: How to Dry a Tent After Camping (and Everything Else)
- Step 3: Camping Tent Maintenance That Prevents Costly Damage
- Step 4: How to Clean a Sleeping Pad and Care for Sleeping Bags
- Step 5: How to Store Camping Gear So It Lasts
- Step 6: Repair or Replace? A Simple Decision Guide
- Step 7: Your Gear-by-Gear Maintenance Schedule
- Frequently Asked Questions
Last Updated: October 17, 2026
Why Camping Gear Longevity Starts With a Post-Trip Routine
Most camping gear doesn’t die on the trail. It dies in the garage.
That’s the hard truth about camping gear longevity. A tent that survives a week of wind and rain can rot in storage because it was packed away damp, and a sleeping bag rated for freezing nights loses warmth after seasons in a stuff sack.
A simple post-trip routine makes a significant difference: gear cleaned, dried and stored properly keeps performing for years.
Most guides treat maintenance as a once-a-year chore.
Below are seven steps covering cleaning, drying, storing and repairing your gear. Follow them and you’ll get more seasons out of everything you own.
Step 1: Clean Your Gear After Every Trip
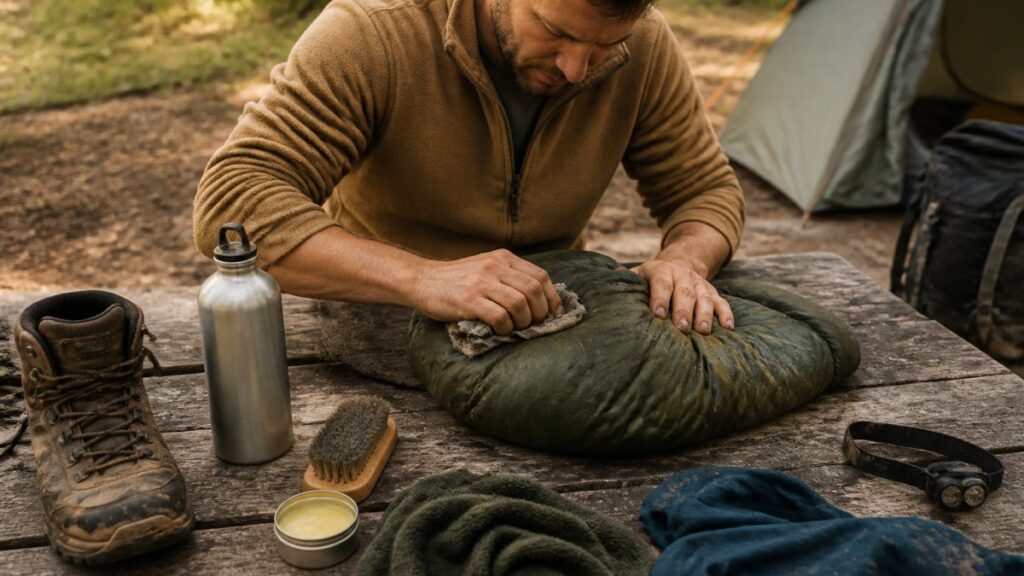
Dirt is the enemy: it grinds into fabric weaves, jams zip teeth, and pulls moisture into boot leather.
Don’t wait until gear looks dirty. Clean it after every trip, even a short one.
- Tents: Brush off loose dirt with a soft brush, then wipe with a damp cloth and mild soap. Never use detergent.
- Sleeping bags: Spot-clean small marks. Full washing is rare, not routine.
- Boots: Rinse off mud, then air-dry away from direct heat.
The Australian Competition and Consumer Commission product care guidance reminds buyers that proper care affects your rights if something fails early. Look after your gear and you protect your investment.
Fabric Care by Material and Waterproofing Type
Most care guides say “use mild soap” and stop there. That’s safe but incomplete: the four material families below fail differently and need different handling. The table sets out what each material is, what damages it, and the wash routine that protects it.
| Material | What it is | What damages it | Wash routine |
|---|---|---|---|
| Coated nylon or polyester | A woven fabric with a polyurethane (PU) or silicone coating on the inside face | Detergent residue, machine agitation, hot water, and repeated compression of the coating | Hand wash in cool water with a mild, non-detergent soap; soft brush on stubborn marks; rinse until water runs clear; air-dry |
| Waterproof breathable membrane | A thin membrane (often ePTFE or PU) laminated behind a face fabric | Heat, fabric softener, chlorine, and abrasion from washing machines | Gentle hand wash only; never wring; hang to drip-dry; reactivate the durable water-repellent (DWR) finish when water stops beading |
| Down insulation | Clusters of goose or duck down held in baffles | Regular detergent, which strips the natural oils, and compression while wet | Specialist down wash only; tumble dry low with clean dryer balls until fully lofted; never store damp |
| Synthetic insulation | Polyester-based sheets or clusters | Fabric softener, high heat, and repeated compression | Mild soap, cool water, gentle cycle if the label allows; tumble dry low or air-dry |
A few mechanisms explain the rules:
- Detergents leave residue. Standard laundry detergent is formulated to leave optical brighteners and surfactants in fabric. On a coated tent, that residue attracts water and breaks down the coating from the inside. A mild soap or a purpose-made gear cleaner rinses clean.
- Heat softens coatings and membranes. PU coatings soften and delaminate above roughly 40°C, and membranes can lose their bond to the face fabric. That is why every manufacturer says cool water and air-drying.
- Fabric softener coats fibres. On synthetic insulation and membranes, softener leaves a film that reduces breathability and wicking. Skip it entirely.
Wash gear in a front-loader on a gentle cycle only if the care label explicitly allows machine washing. Top-loaders with an agitator are the most common cause of torn tent fabric and stretched seams.
If you’re unsure which category a piece of gear falls into, check the care label first and the manufacturer’s website second. When in doubt, hand wash in cool water with mild soap and air-dry in shade, safe for every material in the table.
Step 2: How to Dry a Tent After Camping (and Everything Else)
How you dry a tent after camping decides whether it lasts five seasons or one. Trapped moisture breeds mildew, and mildew eats waterproof coatings.
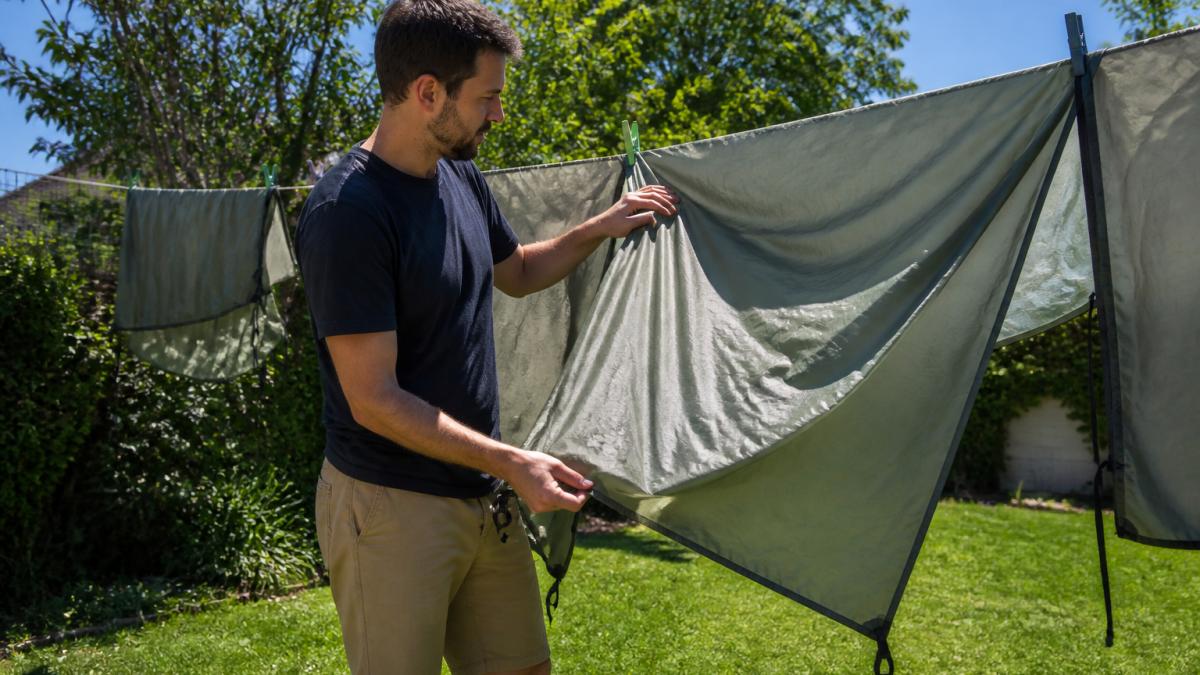
Here’s the routine we recommend:
- Set the tent up in shade, not full sun. UV degrades fabric over time.
- Open all doors, vents and windows for airflow.
- Wipe down wet patches with a clean cloth.
- Let it air until completely dry, inside and out.
- Check seams and corners, the spots that hold moisture longest.
The same logic applies to everything else. Sleeping bags get draped, not stuffed. Boots get air-dried, never placed near a heater. Rain jackets hang on a wide hanger.
Packing a damp tent “just for the drive home” is the single most common cause of mildew. Once mildew sets into a coating, it can’t be fully removed, and the tent will leak.
Step 3: Camping Tent Maintenance That Prevents Costly Damage
Camping tent maintenance is mostly small habits: check zips before every trip, clear grit from the zip track, inspect seams for fraying, and store poles straight, not bent under weight.
- Re-waterproof seams every season with a seam sealant.
- Replace bent pegs before they tear a guy line.
- Never store a tent compressed for months. Loosen it in storage.
The Bushwalking Australia trail safety resources note that equipment failure in remote areas is a real safety risk. A five-minute check at home prevents a serious problem on the trail.
Step 4: How to Clean a Sleeping Pad and Care for Sleeping Bags
How to clean a sleeping pad comes down to one rule: wipe, don’t soak. Inflatable pads trap moisture inside if water gets in. Use a damp cloth with mild soap on the surface, then air-dry fully before deflating.
For sleeping bags:
- Shake out after every trip.
- Air them out, inside and out, before storage.
- Wash down bags rarely, using a specialist down cleaner.
Compression is for travel; storage needs loft. A bag stored compressed loses insulating power over time, damage you can’t undo.
Step 5: How to Store Camping Gear So It Lasts
How to store camping gear matters as much as how you clean it. A dry, dark, ventilated space is ideal. Garages and sheds work if they stay dry. Damp cupboards and hot roofs don’t.
- Store tents loosely folded, not compressed.
- Hang sleeping bags or store them in breathable cotton bags.
- Keep boots upright with newspaper inside to draw moisture.
Label your storage bags with the date you last used each item. When you pull gear out for a trip, you’ll spot anything that’s sat untouched for a year and give it a check before you rely on it.
Step 6: Repair or Replace? A Simple Decision Guide
Not every worn item needs replacing, but not every repair is worth it either. The decision comes down to three questions: what failed, whether the failure is in the material itself or a replaceable component, and whether a home repair will hold under your conditions.
First, Inspect Before You Decide
Most failures announce themselves before they become a trail problem. Run this inspection at the start of each season and after any trip where gear took a beating:
- Tent fabric: Hold it up to light. Pinholes and thin spots show as bright dots. Run a finger along seams; if the seam tape lifts or crumbles, the tape needs replacing even if the fabric is sound.
- Tent poles: Assemble the full pole set and flex it gently. Listen for creaks and feel for sections that no longer seat fully. A pole that has lost its elastic tension is a field failure waiting to happen.
- Sleeping bag: Hold it up to a window. Clumps of insulation with thin patches between them mean the loft has collapsed. Shake it; if down migrates to the corners, the baffles are failing.
Repair or Replace: The Decision Table
| Problem | Fix or replace | Why |
|---|---|---|
| Small hole in tent fabric | Repair | Patch tape or a fabric patch costs little and holds well |
| Broken zip slider | Repair | Sliders are cheap and easy to swap |
| Delaminated waterproof coating | Replace | Once the coating peels, the fabric is done |
| Torn sleeping bag shell | Repair | A patch keeps the insulation intact |
| Lost loft in down bag | Repair | Professional down washing can restore it |
| Bent or cracked poles | Repair | Single pole sections are replaceable |
| Mildew through the fabric | Replace | Mildew damage can’t be reversed |
| Failed seam tape | Repair | Re-taping or seam sealing is a routine fix |
| Cracked stove fuel line | Replace | A fuel leak is a safety issue, not a repair job |
| Worn boot sole | Repair | A resole is usually cheaper than new boots |
The rule of thumb: if the fix costs less than half a replacement and the item is otherwise sound, repair it. If the core material has failed, replace it.
Field Repairs vs Home Repairs
Some repairs are temporary fixes to get you home; others are permanent. Know which you’re doing.
- Field repairs (temporary): Patch tape on a tent tear, a zip tie or cord to replace a broken pole section, a dab of seam sealant on a leaking seam, duct tape on a split boot. These are designed to hold for the rest of the trip, not for seasons.
- Home repairs (permanent): Sewing a patch, replacing a pole section, swapping a zip slider, re-taping seams, resoling boots. Do these properly once you are home, and inspect the field repair to make sure it did not mask a larger problem.
Never field-repair a stove fuel line, a pressurised canister, or any component that holds fuel under pressure. A leak that you cannot see is a fire risk. Retire the stove and replace the part.
When to Use a Professional
Some jobs are worth paying for because the tools or skills are specialised:
- Down sleeping bag washing and loft restoration. A professional clean with the right detergent and drying equipment restores loft that home washing often cannot.
- Waterproof membrane repair. Pinholes in a breathable membrane need a patch applied with the correct adhesive and pressure; a poor repair can delaminate further.
- Boot resoling and leather restoration. A cobbler can replace a worn sole and recondition leather in a way that home kits cannot match.
The real comparison is repair cost plus the item’s remaining life, not repair cost versus new price alone. A $120 repair on a $600 tent with five seasons left is good value; the same repair on a tent with a delaminating floor is not.
Inspect at the start of every season, repair small failures immediately, and treat field repairs as temporary. The gear that lasts is the gear that gets fixed before the failure spreads.
Step 7: Your Gear-by-Gear Maintenance Schedule
A schedule removes the guesswork. Here’s a simple one:
- After every trip: Clean, dry and air everything.
- Monthly in season: Check zips, seams and buckles.
- Start of season: Re-waterproof seams and fabric.
CampNation stocks gear built for this kind of care. Our premium equipment is selected for durability, and our quick, reliable shipping means you’re never caught short before a trip. As one customer put it: “The products are exactly as described, durable, and easy to use. This is now my go-to store for outdoor gear.”
Frequently Asked Questions
How often should you clean camping gear?
Clean fabric gear such as tents, sleeping bags and rain jackets after every trip where it has picked up dirt, sweat or condensation. Deep-wash sleeping bags once or twice a season depending on use, and re-waterproof rain jackets when water stops beading on the surface. Boots need a brush-down after each outing and a full clean and re-proof every few months. A quick inspection after every trip catches small issues before they become repairs.
Is dish soap safe to use on camping gear?
Dish soap is fine for boots, stoves and hard items, but avoid it on down sleeping bags, waterproof membranes and tent fabrics. Detergents strip the water-repellent finish and can leave residue that attracts moisture. Use a purpose-made technical wash for sleeping bags and waterproof clothing, and plain warm water with a soft cloth for tent fabric. Always check the manufacturer’s care label before washing anything.
How do you prevent mould on camping equipment?
Mould grows on moisture, so the fix is drying gear completely before storage. Air-dry tents, flysheets and sleeping bags in the shade, turning them inside out and hanging them so air reaches every layer. Never pack damp gear into a stuff sack or car boot. Store everything loosely in a dry, ventilated space rather than a sealed garage cupboard, and check stored gear every few months for musty smells.
When should you repair camping gear instead of replacing it?
Repair when the damage is localised: a small tear in tent fabric, a broken zip slider, a lost boot lace or a sleeping pad puncture. Patches, seam tape and replacement parts cost a fraction of new gear. Replace when the structure fails, such as delaminated tent floors, flattened down insulation that no longer lofts, or cracked stove components. If a repair costs more than half the price of a replacement, replacement usually makes more sense.
Good camping gear is an investment, and it deserves more than a quick shove into the garage. The habits above take an hour after each trip and add years to your equipment’s life. If you want gear that’s built to last and backed by a team that cares about your adventures, CampNation is here to help. Explore our range of durable, field-ready equipment and get set for your next trip with confidence. Shop now.