Table of Contents
- Why Camping Triggers Back Pain (and How to Stop It)
- Choosing a Camping Sleeping Pad for Back Pain
- Pillows, Sleeping Position, and Neck Alignment
- How to Set Up a Tent Without Back Pain
- Backpack Weight and Lower Back Pain: Packing Strategy
- Camping Stretches for Back Pain and Pre-Trip Mobility
- Lifting, Bending, and Moving Around at Camp
- When Back Pain Needs Medical Assessment
- Frequently Asked Questions
Last Updated: October 9, 2026
Why Camping Triggers Back Pain (and How to Stop It)
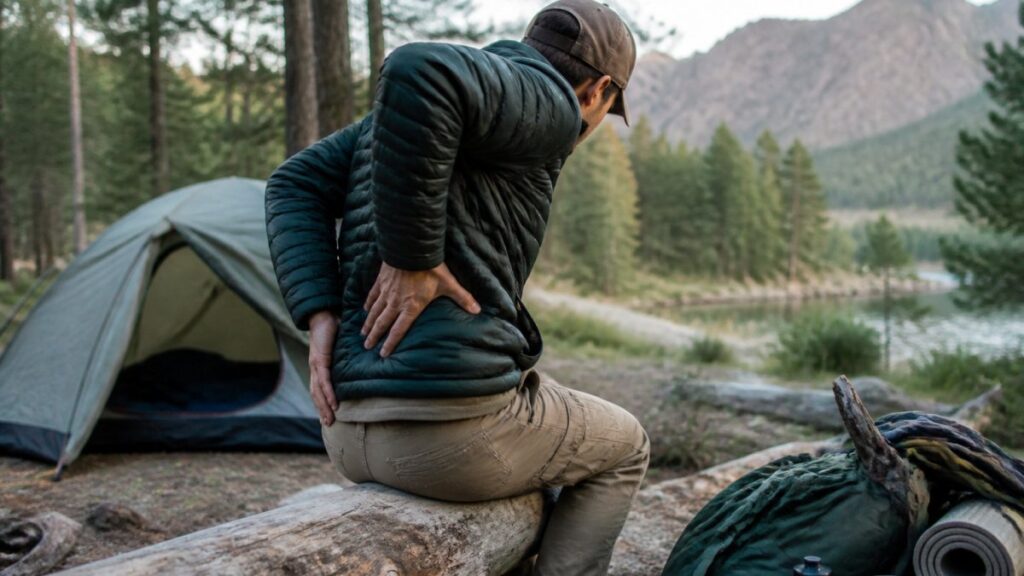
Most camping back pain doesn’t come from the tent.
Sleeping on cold, uneven ground. Hauling a heavy pack. Bending over a camp stove. Sitting in a camp chair for hours.
This guide breaks it down into seven practical steps. You need a supportive sleeping surface, a sensible pack, and a habit of moving.
Here’s what most guides get wrong. They treat back pain as a sleep problem alone.
Camping back pain is rarely caused by one thing. It’s the combined load of poor sleep, heavy lifting, and long periods of stillness. Fix all three, not just your mattress.
Choosing a Camping Sleeping Pad for Back Pain
The best camping sleeping pad for back pain is one that keeps your spine in a neutral line and stops your hips from sinking.
A pad that’s too soft lets your hips drop below your shoulders. That twists your lower back for hours. A pad that’s too thin leaves you on hard ground, which puts pressure on joints and muscles.
The Five Specifications That Decide Comfort
Read these before you buy, and write them down so you can compare pads side by side:
- Thickness: 7-10 cm suits most side sleepers because it lets the shoulder and hip sink without bottoming out; 5-7 cm works for back sleepers who need less cushioning. Under 5 cm is a summer mat, not a back-friendly pad.
- R-value: this measures resistance to heat loss. R 1-2 is warm-weather only; R 3-4 covers three-season camping; R 5 and above is for cold ground and snow. Cold ground tenses muscles, so a higher R-value is a back measure as much as a warmth measure.
- Width: at least 60 cm for a regular, 65 cm or more for broader frames, so your arms don’t fall off the edge and drag your shoulders out of line.
Match the Pad to Your Body and Your Sleep Position
A simple rule of thumb: the heavier you are, the more thickness and firmness you need before the pad stops supporting you. A 60 kg back sleeper may be fine on 5 cm; a 95 kg side sleeper will usually sink through anything under 8 cm.
- Side sleepers: thick, medium-firm pad, plus a pillow that fills the shoulder-to-ground gap.
- Back sleepers: medium pad, thinner pillow, and a slight knee support.
- Front sleepers: rare on a pad, but if you must, choose a thin pillow and a firmer pad to stop the lower back arching.
Air Mattress vs Camping Mattress vs Hammock
Each option suits a different camper. Here’s how they compare:
| Option | Back Support | Best For | Watch Out For |
|---|---|---|---|
| Air mattress | Firm, adjustable | Car campers | Loses air overnight, feels cold without insulation |
| Self-inflating mattress | Even, stable | Most campers | Bulkier and heavier to carry |
| Closed-cell foam mat | Firm, thin | Ultralight trips | Little cushioning on hard ground |
| Flat lay hammock | Good if hung right | Warm, dry sites | Needs trees, tricky for side sleepers |
| Bridge hammock | Flat, firm | Back sleepers | Heavier, needs strong anchor points |
A flat lay hammock keeps you level, unlike a banana-shaped one that curls your spine. A bridge hammock is flatter again but heavier. For car camping, a firm air mattress or self-inflating mattress is usually the simplest fix.
Test It Before You Trust It
Inflate your pad at home and lie on it for ten minutes in the position you sleep in. If your hips sink lower than your shoulders, it’s too soft for your back. If you can feel the floor through it, it’s too thin. Adjust the firmness, then repeat until your spine feels level.
Pack a repair patch and a spare valve. A pad that deflates at 2 am turns a good setup into a cold, hard night and a sore back by morning.
Pillows, Sleeping Position, and Neck Alignment
A firm pillow that fills the gap between your neck and the ground does more for your back than most people expect.
When your head drops or tilts, your neck strains and your upper back follows. That tension travels down.
Side sleeping is the kindest position for most backs, but only if your spine stays straight. Try these:
- Tuck a small pillow or rolled towel between your knees
- Keep your top hip from rolling forward
- Use a pillow thick enough to fill the shoulder-to-ground gap
Back sleeping needs less pillow height. Stomach sleeping twists your neck and arches your lower back, so avoid it where you can.
How to Set Up a Tent Without Back Pain
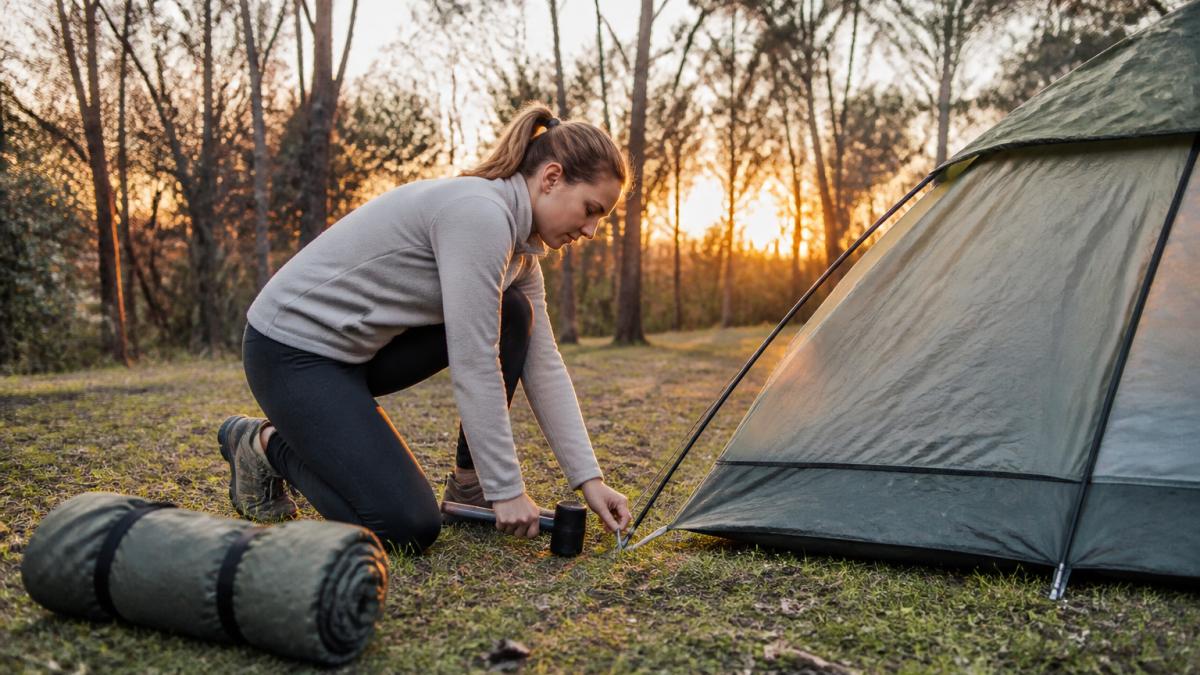
The trick to setting up a tent without back pain is simple: keep your back straight and let your legs do the work.
A Step-by-Step Campsite Setup Plan
Work through these in order. The sequence matters because it keeps heavy lifting early, while you’re fresh, and keeps bending to a minimum.
- Scout the site before you unpack. Walk the pitch and look for level ground, no roots or rocks under where you’ll sleep, and a slight fall so rain drains away. A sloped or lumpy pitch is the single biggest cause of a bad night’s sleep and a stiff morning.
- Park or drop your gear at the tent spot first. Carry loads the shortest distance possible. If you’re car camping, reverse the car close to the pitch rather than ferrying bags across the site.
- Lay the tent flat and orient it. Decide the door direction and the head end before you peg anything. Laying it out flat means you’re not dragging it around later.
- Peg the corners while kneeling or squatting. Kneel on one knee or squat with your back straight, and push pegs with a mallet rather than your palm. Never bend at the waist to reach a corner.
- Thread poles at chest height. Assemble poles standing up, then feed them through sleeves with the tent at waist or chest level. Don’t lift the whole tent overhead to thread poles.
- Raise the tent with your legs, not your back. Ask for help if the tent is heavy. Lift with bent knees, keep the load close, and avoid twisting as you stand it up.
- Set up your sleeping area next, while you’re still fresh. Inflate the pad, arrange the pillow, and lay out your sleeping bag before you cook or socialise. Tired setup at the end of the night is when backs get hurt.
- Position cooking and seating so you’re not bending low. Put the stove on a table or a flat rock at hip height, and place your chair so you can stand without pushing off your knees.
- Keep heavy gear close to the tent. Cut carrying distance by staging the esky, water and food within a few steps of where you’ll use them.
Campsite Setup Checklist
Use this before you unpack anything:
- Choose level ground, free of roots and rocks
- Check for a slight fall so rain drains away from the tent
- Park or drop gear as close to the pitch as possible
Setup Habits That Protect Your Back
- Kneel or squat to peg corners instead of bending at the waist
- Push poles through sleeves at chest height, not overhead
- Ask for help lifting the tent body upright
Set up your sleeping area before dark and before you’re tired. Most camping back pain starts with a rushed, late-night pitch on uneven ground.
Backpack Weight and Lower Back Pain: Packing Strategy
Backpack weight and lower back pain are directly linked.
Keep your pack under roughly a fifth of your body weight where you can. Pack heavy items close to your spine and centred between your shoulder blades.
- Heavy items (stove, food, water) against your back, mid-height
- Lighter gear at the base and in side pockets
- Adjust hip straps first; they should carry most of the load
A well-fitted backpack moves the weight to your hips, not your lower back. That single change can make a long walk far kinder on your spine.
Camping Stretches for Back Pain and Pre-Trip Mobility
Camping stretches for back pain work best when you start them before the trip, not after the ache sets in. A short daily routine builds mobility that protects you on the trail.
Try this progressive routine in the weeks before you go:
- Cat-cow: on hands and knees, arch and round your back slowly, 10 reps
- Pelvic tilt: lie on your back, gently tilt your pelvis and hold for 5 seconds, 10 reps
- Knee-to-chest: pull one knee toward your chest, hold 20 seconds each side
- Hip flexor stretch: kneel on one knee and lean forward gently, 30 seconds each side
- Gentle twists: lie on your back and drop your knees to one side, hold 20 seconds
At camp, run through a few of these before you pitch a tent or lift gear. Warm muscles handle load better than cold ones.
Don’t push into sharp pain during any stretch. A gentle pull is fine; a shooting pain means stop and reassess. Stretching should ease tension, not create it.
Lifting, Bending, and Moving Around at Camp
Good lifting technique and frequent movement prevent more back pain than any single piece of gear. Bend at the knees, not the waist, and never twist while lifting.
Camp life tempts you into long sits. You perch in a chair, chat for hours, then stand up stiff and sore.
- Stand and walk around every 30 minutes
- Alternate tasks: cook, then walk, then sit
- Bend at the knees to pick up gear, keeping the load close
If you’re hiking or biking, build in rest stops. Overexertion on day one often shows up as back strain on day two.
Set a phone timer for every half hour at camp. When it goes off, stand, stretch, and take ten steps. Small, regular movement keeps your back from stiffening.
When Back Pain Needs Medical Assessment
Most camping back pain settles within a few days of rest and gentle movement. Some signs mean you should stop and seek medical assessment.
See a doctor or health professional if you notice:
- Pain that shoots down your leg or into your foot
- Numbness, tingling, or weakness in your legs
- Loss of bladder or bowel control
For general health guidance, healthdirect’s information on back pain is a reliable starting point. Physiotherapists can also assess your movement and give you a plan. Don’t push through serious symptoms to finish a trip.
Frequently Asked Questions
What are the common causes of back pain when camping?
Most camping back pain comes from three things: sleeping on an unsupportive surface, lifting and bending awkwardly during tent setup and pack-down, and long periods of sitting or standing still. Cold ground, a heavy or badly packed backpack, and sudden overexertion on the first day of a trip all add to the load on your lower back. Addressing sleep support, lifting technique, and movement breaks covers most of the risk.
What sleeping pad is best for back pain when camping?
Look for a pad at least 6 cm thick with an R-value of 4 or higher for cold conditions, and check the packed weight against how far you are carrying it. Side sleepers usually need 8 cm or more so the hips and shoulders do not bottom out. A camping sleeping pad for back pain should hold its shape through the night, so self-inflating or hybrid designs often suit car campers better than thin foam mats.
Can a backpack cause lower back pain?
Yes, especially when the load sits too far from your body or exceeds roughly 20% of your body weight. Keep heavy items close to your spine and centred between the shoulder blades, tighten the hip belt so it carries most of the weight, and adjust the shoulder straps last. A properly fitted backpack weight and lower back pain link is mostly about distribution, not total kilograms.
When should I seek medical advice for back pain after camping?
See a doctor or physiotherapist if pain lasts more than a week, radiates down a leg, comes with numbness, tingling or weakness, or follows a fall or sudden injury. Back pain with fever, unexplained weight loss, or loss of bladder or bowel control needs urgent care. For everyday muscle tension after a trip, gentle movement and heat usually help within a few days.
Back pain shouldn’t be the price of a good camping trip. With the right sleeping surface, a well-packed backpack, and a habit of moving, most campers can wake up comfortable and ready to explore. At CampNation, we stock premium gear built to last outdoors, from supportive sleeping pads to lightweight hiking tools, with quick and reliable shipping so you’re ready before your next trip. Shop now and set up camp with confidence.